1: Shutter Speed
“Amount of light let in through the shutter is directly proportional to the amount of time the shutter is opened”
For example, an exposure of 1/500 of a second lets in TWICE as light as 1/1000 of a second. The following picture (Googled) might help understand the factor.

Usage: On your camera select the Shutter Priority mode (TV or S). Use, when your subject, or any part of your shot is moving or when there are issues with getting enough light for a correct exposure.
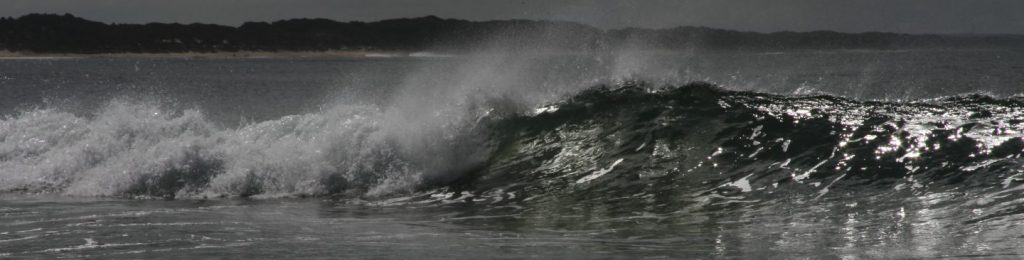
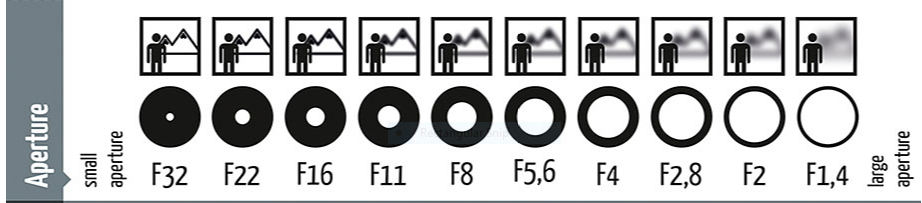
2: Aperture
“Controls the amount of light that is allowed through it to hit the sensor”
A large aperture enables more lightto hit the sendor for the duration of time shutter is open. Aperture is usually expressed in f/stops (f/1.8, f/5.6). For example, a SMALLER f/stop (f/2.0, f/3.5) number indicates a LARGE aperture . Conversly a LARGE f/stop (f/16, f/22) number indicates a SMALLER aperture. The following picture (Googled) might help understand the factor.
Usage: To acheive a good “Depth of Field-DOF” – The amount of an image that is in FOCUS. Shallow DOF means little of the image is in focus; Deep DOF means more of the image is in focus.
On your camera select Aperture Priority mode (AV). This mode gives you the freedom to select desired aperture value such as f/16 or f/22 to get a deep depth of field, while the camera take care of the shutter speed and ISO.
3: ISO
“Measurement of your camera sensor sensitivity to light”
Higher the ISO number, the camera is more sensitive to the light and produce more digital noise.

Usage: Usually most of the advanced cameras will have this set to AUTO. It starts from 100 and can go to 1000’s depending upon the size of the camera sensor. In broad day light when outside ISO100 works perfectly fine. If you are inside with less light to capture a photo, increase the ISO. In summary, LOWER the ISO when shooting in brighter light, INCREASE the ISO when shooting in dim or less light.
This blog is meant to be a refresher for some and information for others who are just entering into the world of DSLR. By no means I am planning to create or recreate a book on Photography. This is the first blog on the science. More will follow soon.

Leave a comment